Beste vrienden,
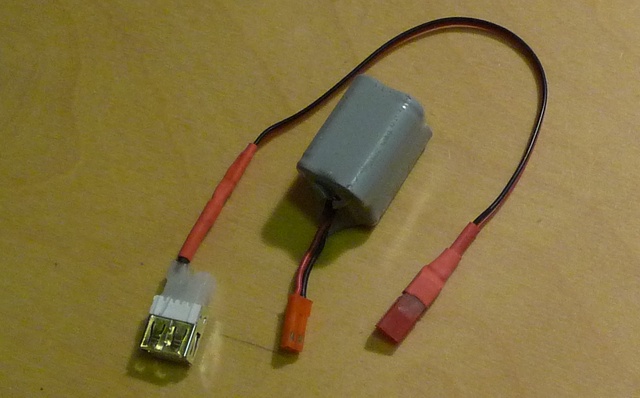
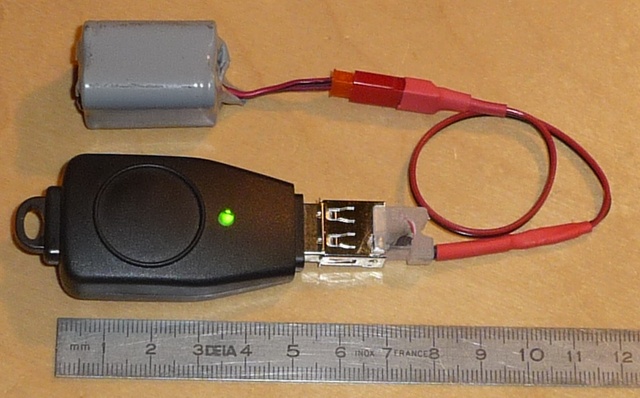
kent iemand hier deze logger,,
A tiny GPS Logger for RC Aircraft that weighs 18g. Log Position, Altitude and Speed data once every second.
wat ik kan lezen..... een leuk hebbedingetje,,, !! of niet,,,?
groet,
Jeedee
Volgens ik zo op het eerste gezicht zie is deze dezelfde GPS logger als de mijne...
Install the software and drivers.
Before use, must be connected to a Windows PC to configure the logging behaviour. The GPS should also be allowed to initialize itself and download some information from the GPS satellites to allow a fast start up in the field (called a GPS Almanac). If this step is skipped you may need to wait for a few minutes in the field upon first use – it’s no big deal though.
Put the CD in your Windows PC.
In My Computer, open the CD and install the software in your language.
The English one is here:
\GPS USB Dongle\Data logger software (OPTION)\GPS USB Dongle with Data Logger (English version)\ GPS PhotoTagger(Data Logger)_install.exe This will install the software and the required drivers.
You will need the software KEY which is on the CD envelope. Once done, you can connect the GPS to your PC.
Check the GPS performance
You can check the GPS performance by running another program on the CD.
\GPS USB Dongle\GPS USB Dongle (English version)\GPS Viewer.exe
Click on the button labelled “Scan All” in the bottom left corner to establish a connection with the GPS.
Now you can watch which satellites are in view and the signal strength. If the GPS can see 4 or more satellites it will get a fix and configure itself properly. You may not get much signal inside a building, so move near a window or take your PC outside if possible.
Synchronize digital camera clock with GPS
If you are going to do Aerial Photography, you should to synchronize the time on your digital camera with the time on the GPS using the GPS Viewer program described in the previous step. Once the GPS has satellite reception you will see the time displayed on your PC. Try to set the time & date on your camera as close as possible (to the second). This way the time recorded with the image will correlate with your logged position in the GPS.
Configure GPS Logging
To configure the logging before a flight, start the photo tagger program in Windows.
START | All Programs | GPS Photo Tagger
Now connect the GPS if not already connected. Choose:
File | Config GPS
Set it as follows:
Auto Scan GPS Module : ON
GPS Log Setting: General
Log Every : 1 Seconds
Log Every x meters/feet can be OFF.
Log Over: Set the speed that you want logging to start. A few kph/mph is good.
Click OK to apply the changes.
Choose: Tools | Options Set your preferred units (Metric or Imperial).
Set the option for “Group photos when distance is less than:” to 0.
This is important if you want to tag your photographs later.
The GPS is now set up and you can disconnect it from your PC
Logging a flight
Use the supplied R/C adapter to connect the GPS to a spare channel on your aircraft's receiver. If you have no spare channels, use a 'Y' cable to share the channel with another one. The GPS only draws power from the connector, teh R/C signal is not used.
In the field, give the GPS time to initialize before taking off.
It will usually take a few seconds, but will take longer if the GPS has not been used for a few days or has been moved a long way from when it was last operated.
Once the GREEN LED light on the GPS is flashing, you are good to go.
If you are going to be taking photographs from your aircraft, it helps if you have an image which you can synchronise the log to.
I like to snap one shot right as the aircraft starts moving. The best option is to ensure the clock on your camera is synchronised, but that is not always easy to get right on some cameras. Now complete your flight. The GPS will log whenever it gets power. You can turn it off at any point, the log never seems to get corrupted – neat huh?
Viewing the log.
Connect the GPS to the PC, start up the GPS Photo Tagger program.
File | Read Device Log
You’ll see a list of all the logged sets of data.
Put a check mark next to the one(s) you want to see.
You then be shown a map with the logged data presented.
You can add your photographs and adjust the time offset using the photo/Media menu (one you set the correct time for one photograph, it adjusts all the rest).
Viewing in Google Earth (in 3D).
There’s two options/button at the top of the screen to View in Google Earth or Export KMZ (Google Earth format). By default, the altitude will not be shown when you look at the data in Google Earth.
Click “View in Google Earth”.
Google Earth will open and show your logged flight as a line on the ground.
In the Sidebar (Choose “View | Sidebar “ if not visible), right click on Track.kml which is in “Temporary Places” and open the properties.
Click the Altitude Tab and Select Absolute. Now you can see the flight in 3D.
Links to relevant GPS sites/software/information.


")