Dacht het wel Jan
")
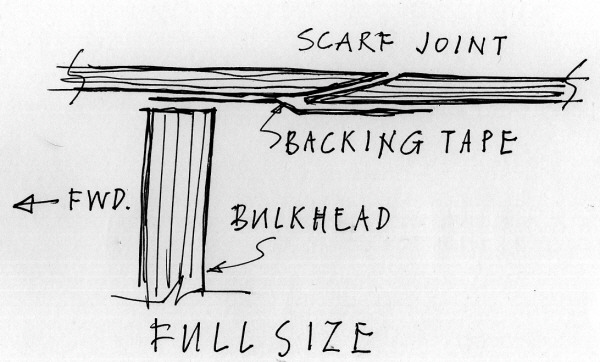
Hier een stukje uit Don Coe's draadje

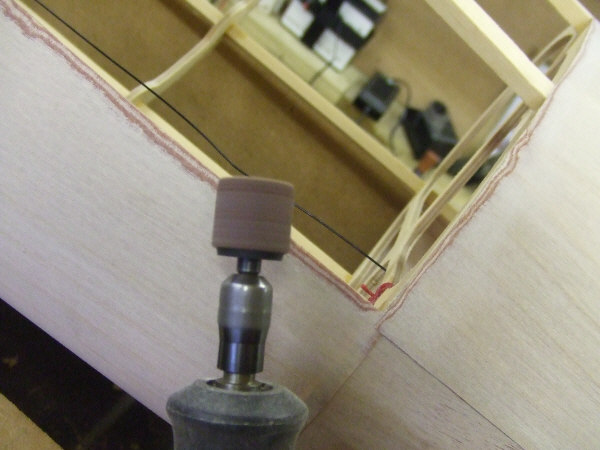
The apparent join is some way aft of the bulkhead and a row of small nails attached the cladding to the bulhead. (Nails not shown here)
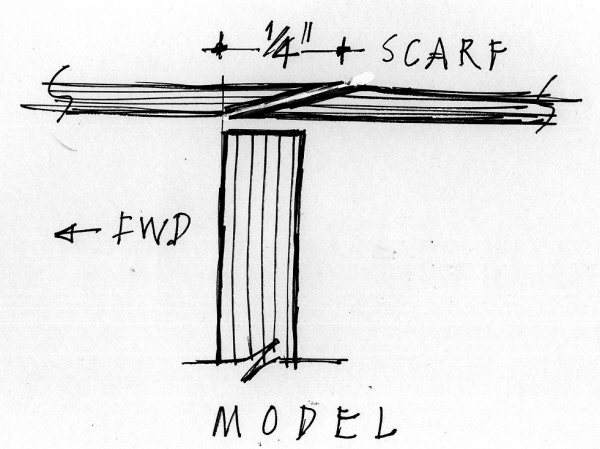
This would be difficult at 1/4 scale so I reckon to modify the F/S method to this ...
I'll trim the panel to be flush with the front edge of the bulkhead and champher the leading edge of the plywood panel. Then I'll champher the underside of the trailing edge of the next panel to match. That will put the
apparent joint in the correct place and I can nail to the bulkhead if I decide to go that far!
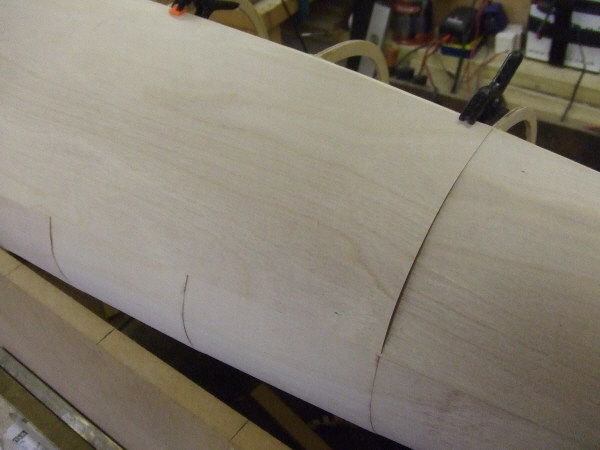
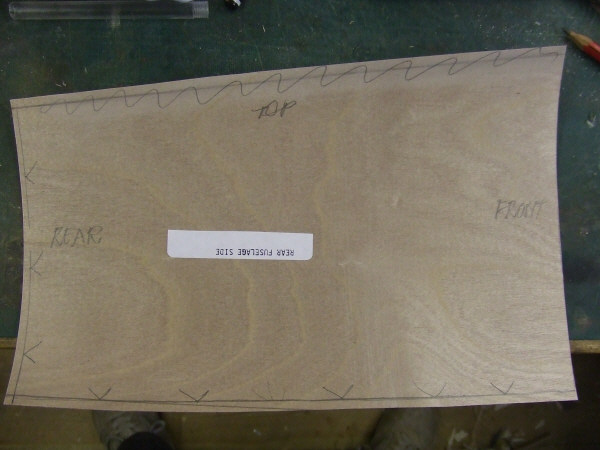
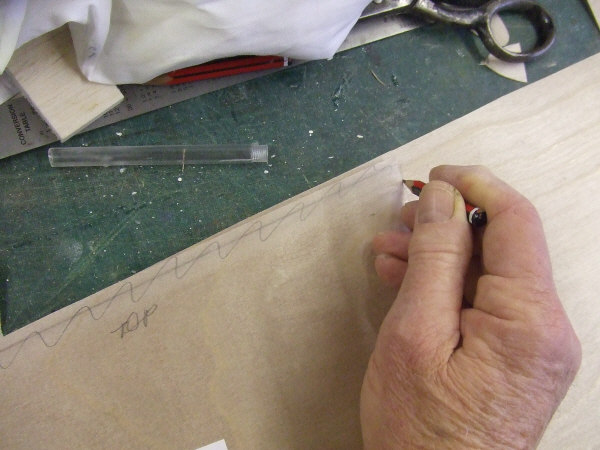
...and this is how it went. Take the plywood stock, line it up with the top of the longeron and overlap the rear edge to line up with a previous join. Clamp in position.
With a sharp, soft pencil mark the for'ard edge of the leading bulkhead, the for'ard edge of the rearward bulkhead and the upper edge of the lower longeron. You will be cutting to the front line and
adding a 1/4" to the rear and lower lines.
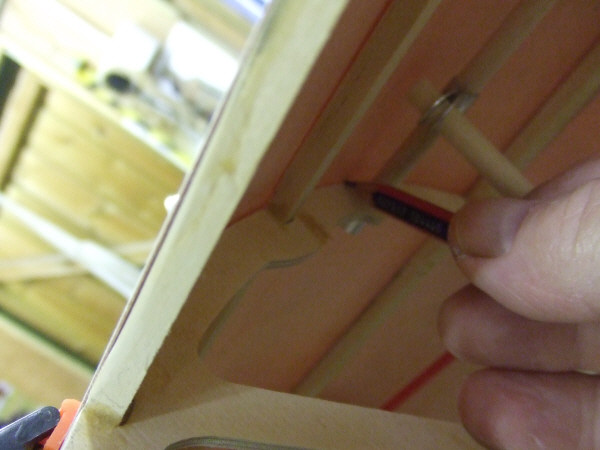
Here's me marking the for'ard edge of the leading bulkhead...
Here's the panel being cut out...(this is at the for'ard edge)
Here's the panel showing the added on 1/4" borders at the rear and lower edges.
(NOTE: the top line which is scribbled through is a line that just happened to be on the panel as suppied and has nothing to do with this disertation
)
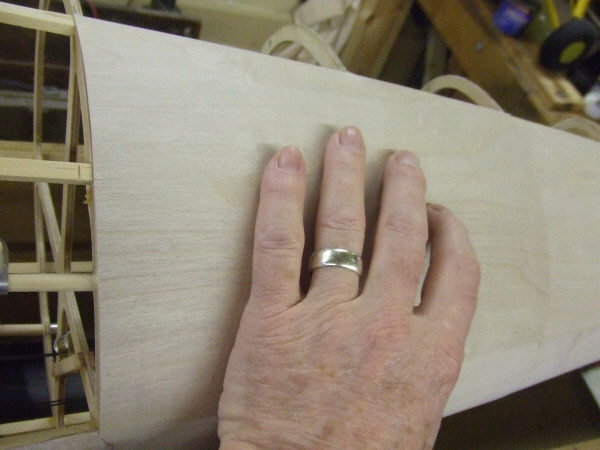
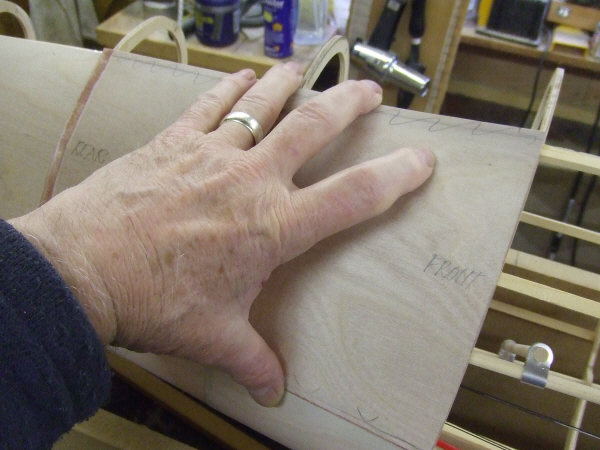
Now check it aginst the model for accuracy.
If it fits try it on the other side of the model for fit.
If all is OK you will be able to trace round it for the second side.
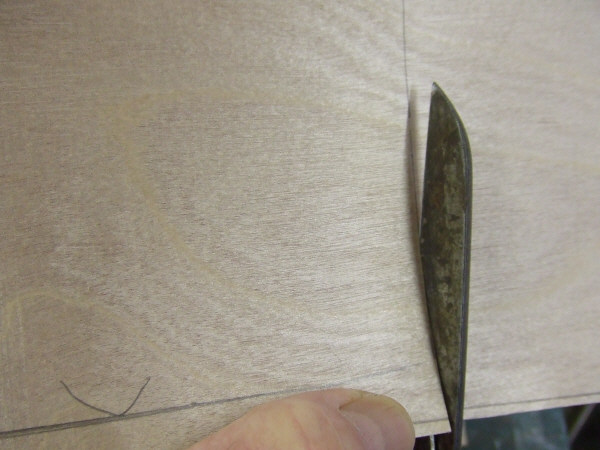
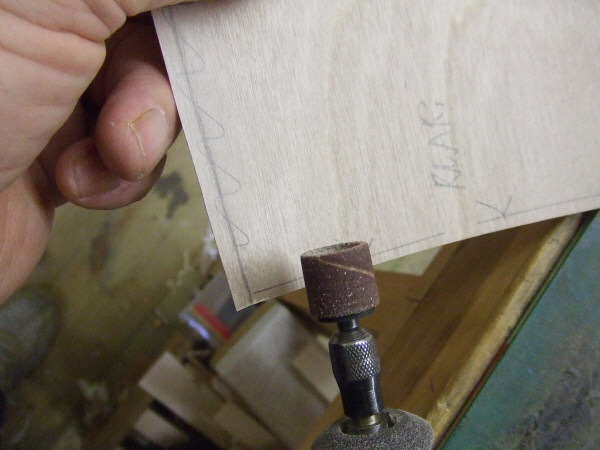
Now for the champhering. I used a sanding drum in the Dremel and did it all by eye. If it's done "in the air" and not held against the bench, the tendency for the drum to dig in will be reduced. Sand a 1/4" wide strip down to paper thin along the aft and lower edges. You will find that the laminations in the plywood will give good indication of consistancy.
Watch out when you reach the R/H end!!!!
(Turn the drum 90 degrees anti-clockwise to avoid picking up the R/H edge. I didn't on the first one
)
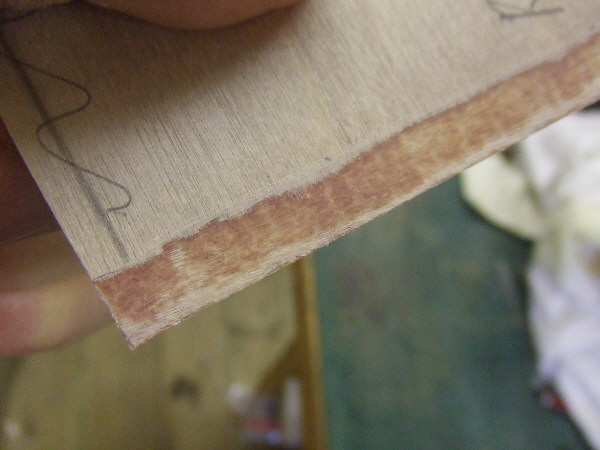
Here it is 30 seconds later!
Held up to the light. You could almost read through it.
I then did the same to the appropriate edges of the previously fitted panels.
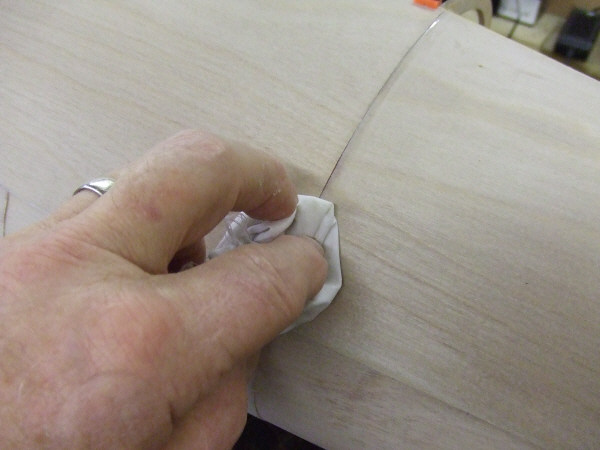
After a final check-fit apply a bead of fast grab PVA to the bulkhead & longeron if neccessary...
...and to the edges of the panel.
Then slap it on... so that the leading edge is flush with the front surface of the bulkhead, the upper edge is flush with the upper edge of the logeron and the lower corner lines up with the previous panel. Use clamps if needed at the top and front wipe off any PVA that may ooze from the joint with a damp cloth.
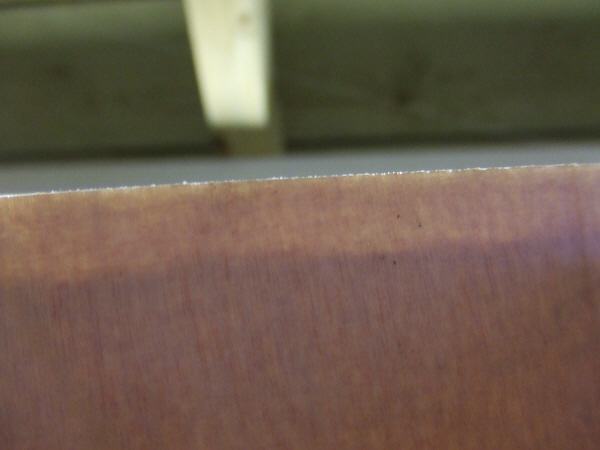
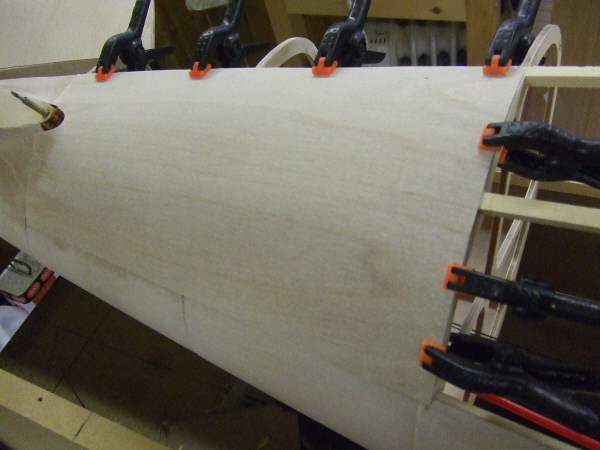
All that happened so quickly I didn't have time to take a snap. Here's one I did previously!
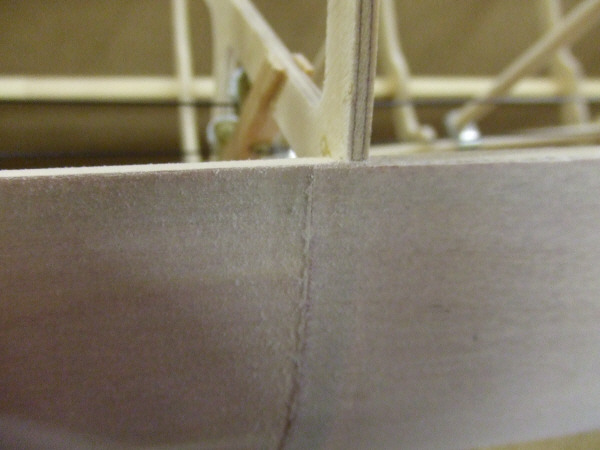
This is how the finished joint should look. The front of the 'plane is to the right.
Now I can put in all the thousands of tacks if I feel like it!
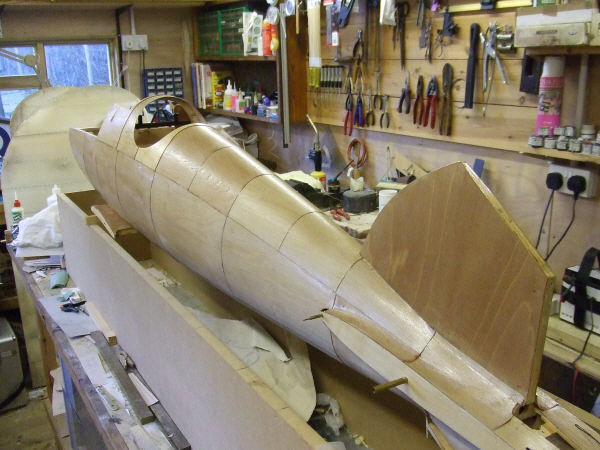
My scheme will feature clear varnished fuselage with Black and White insignia, five colour lozenge camouflage wings top and lower surfaces.
That's it for today.
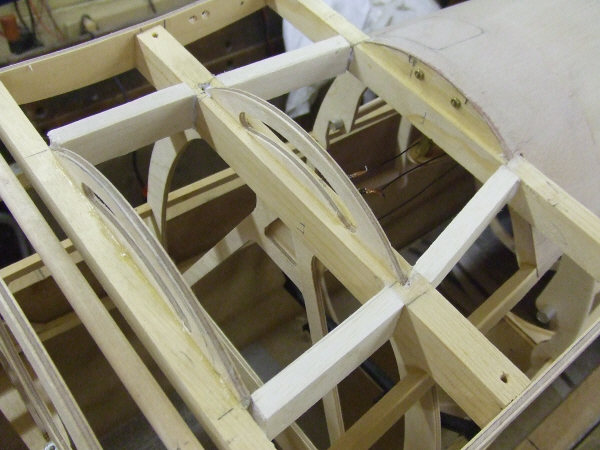
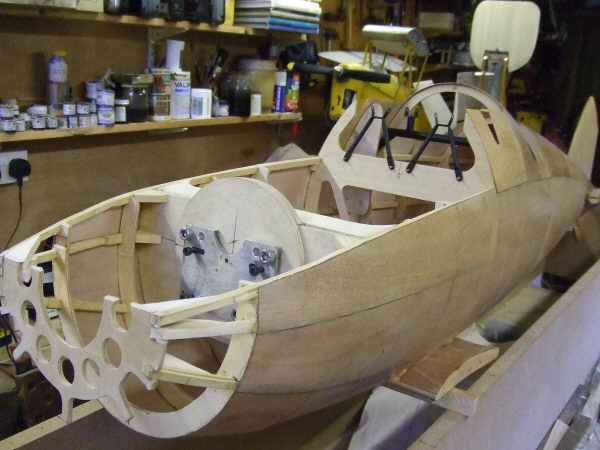
This may be of interest to those who are building the Albatros.
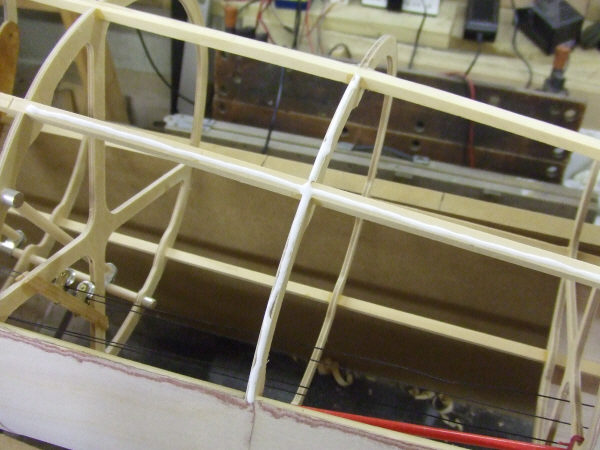
I will be following the advice given in the build manual and siting the radio gear and servos within the lower wing centre section. So.......
I've added a frame work of 1/4" balsa sheet to not only make it easier to fit an access hatch for the gear but also to enhance the gluing surface for the plywood cladding to the stub wings.
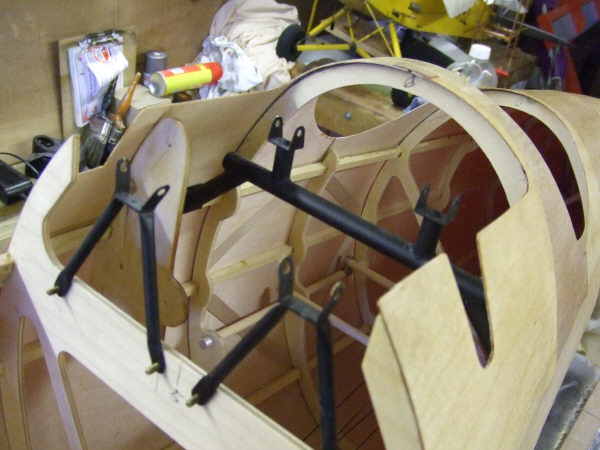
Here's the frame.
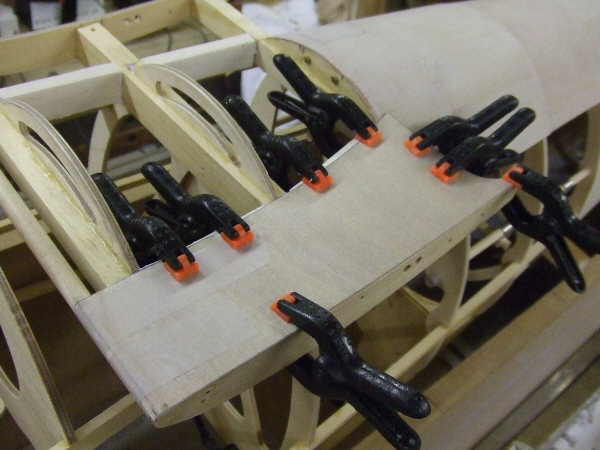
...and one of the cladding pieces in position.
Groeten, Ralf